
The Almond Agaricus (or Almond Portobello) mushroom is a summer producer that can grow in a wide variety of composts. It thrives in warm environments, nicely adapting to porch and window box plantings and protected culture in the greenhouse, but like every other mushroom, it requires moisture to grow which often means occasional watering to keep the seeding zone moist. Its warmth loving nature means it is cold sensitive and will only produce as long as temperatures stay above 40°F. Fruiting success is directly correlated to maintaining the moisture content of the substrate (your mix or compost, soil, and spawn), so be sure to start with a properly hydrated mix prior to inoculation and planting. Follow the steps below for planting your Almond pots or beds.
Preparing your Mushroom Bed Material
Step 1. Prepare the Compost and Garden Soil
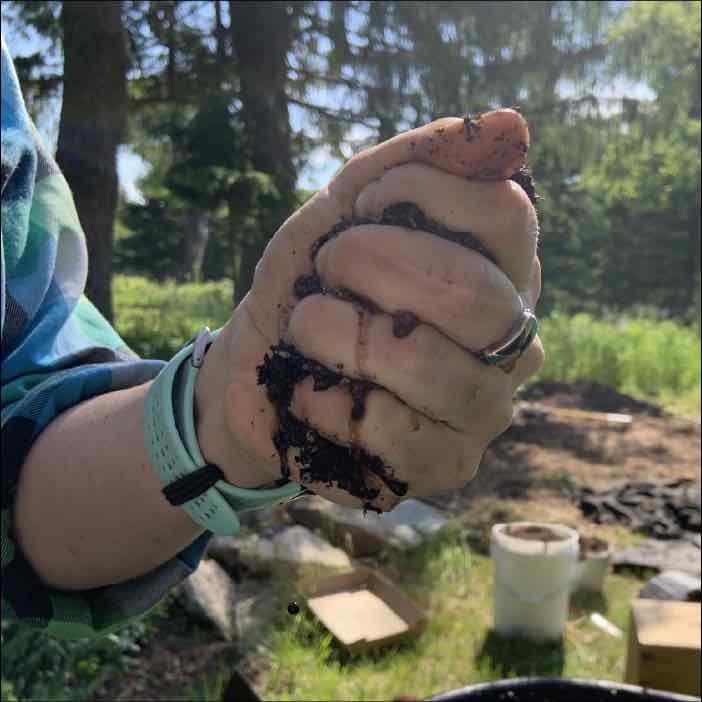
Compost should be fully finished (so you can't tell what the starting material was). A variety of plant-based composts work great, even store purchased varieties. Compost should be maintained between 60-70% moisture content. Grab a handful of compost and squeeze it. When you open your hand, it should stick together in a clump but water shouldn't squeeze out.
Step 2. Prepare the Potting soil
Potting soil usually needs to be hydrated. An effective way to keep your entire mix hydrated properly for a great moisture content at inoculation is to hydrate your potting soil so it is a little wetter than your compost. Grab a handful and squeeze: a few drops of water should squeeze out.
Planting Almond Agaricus
Inoculating in a pot or planter with Bottle or Bag Spawn
The Almond spawn is planted near the surface where it will grow and thrive if it is provided with a regular watering schedule. Small plantings benefit from this concentrated inoculation zone. You can grow the Almond as a crop all by itself in pots but it is easiest to plant leafy flower or vegetables as transplants or seeds along with the Almond. The plants will provide important shade and gas exchange to help nurture the mushrooms as they grow, and vice versa. Here's how to do it:
• Mix together equal parts potting soil & compost. Fill your planter 1/2 to 2/3 full with the mixture. Keep leftover mix reserved.
• Scoop the spawn out of the bottle or bag and crumble into reserved mix (we use one full bottle or 1/2 bag per pot). Add the spawn-soil mix to the pot. Note that you will only have spawn in the top half of the container.Next, watch for mushrooms! In 3-6 weeks from inoculation (depending on weather conditions), your pot may start to fruit.
Maintaining and monitoring the bed during colonization
Maintaining moisture is the most critical factor for success. Pots may need to be watered as frequently as several times a week. A top layer of mulch can really reduce the need to water. The top layer of compost may appear dry, pull away the mulch from the top of the bed. You should be able to see white mycelium cover patches of the surface of the compost after a few weeks. CAUTION: Beware of keeping the compost layer constantly wet, as this may drown the mycelium.
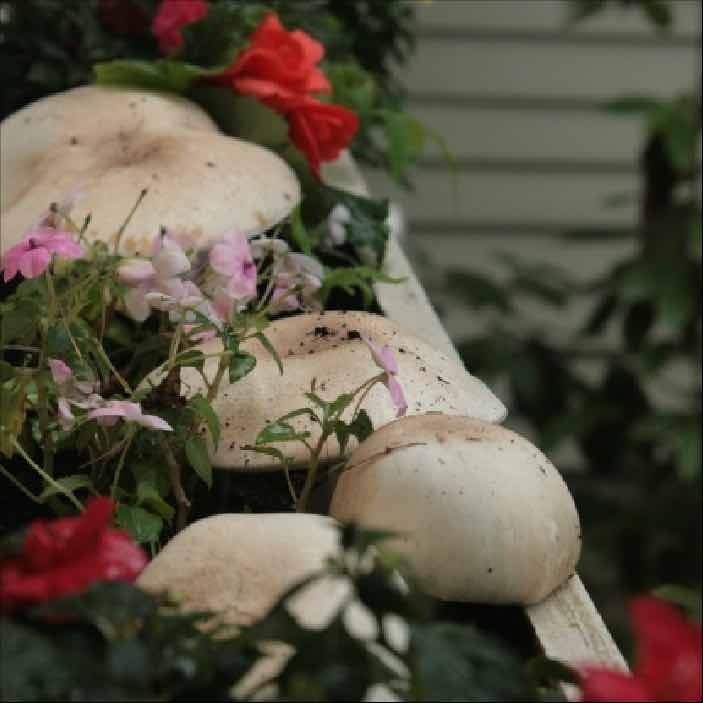
Watch for pinning mushrooms
Baby mushrooms will appear as solid white bubbles, usually at the base of plants, and will quickly enlarge. Within a week, mushrooms will be full size when the cap expands and drops its skirt. Gently pull the mushroom at its base and trim the roots off to keep the mushroom clean. You can eat the both the cap and stem.